The Dental Implant Process: Step-by-Step Guide

A smile is one of the first things others notice about us. Dental implants have revolutionized dentistry, providing a reliable and long-lasting solution for people with missing teeth. In this article, we’ll guide you through the dental implant process step by step, from consultation to recovery. By understanding the process, you can feel confident and comfortable while pursuing dental implants.
Step 1: Consultation and Examination
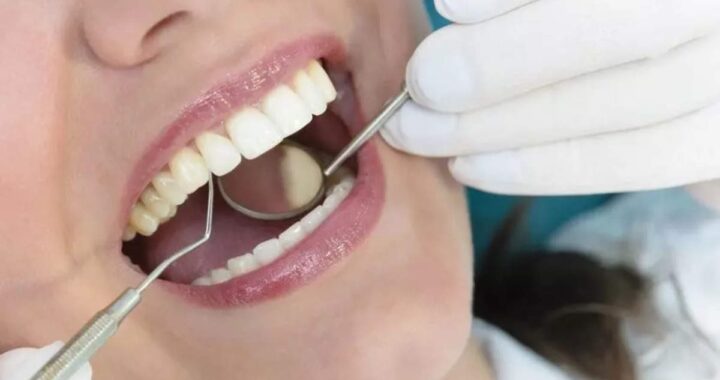
The first step in the dental implant process is a consultation with a dental professional who specializes in implants. During this appointment, they will inspect your teeth, gums, and jawbone to decide if you are a suitable candidate for dental implants. They will also take X-rays and possibly a CT scan to evaluate the bone density and structure in the place where the implant will be placed. The qualified healthcare professional for dental implants in Scottsdale, AZ, will discuss the various options available for your specific situation and provide you with a customized treatment plan.
Step 2: Dental Implant Surgery
The next step in the process is the dental implant surgery. This procedure involves the insertion of a titanium implant post into the jawbone. The dentist will make an incision in the gum to expose the bone and then drill a hole to securely fit the implant into the jawbone. Once the implant is in place, the gums are stitched closed to ensure proper healing.
The entire procedure is typically done under local anesthesia, but for patients who may feel uneasy during surgery, sedation can be an option; more on this can be found in this blog. This will allow you to be relaxed and comfortable while the implant is being placed.
Step 3: Osseointegration and Healing
After the surgery, the dental implant goes through a process called osseointegration. This is when the jawbone fuses with the implant, ensuring a strong and stable foundation for the artificial tooth (crown). This process can take from a few weeks to several months, depending on factors like overall health, bone quality, and implant location.
During this period, it’s important to practice proper oral hygiene and follow your dentist’s post-operative care instructions. This will help speed up the recovery and ensure the success of your dental implant treatment.
Step 4: Abutment Placement
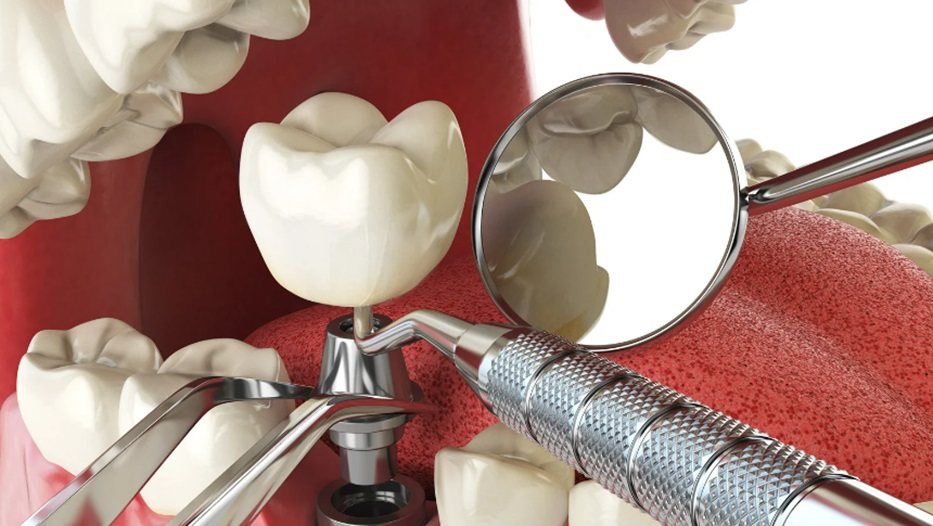
Once the implant has successfully integrated with your jawbone, the dentist will attach an abutment to the implant. The abutment is a small metal or ceramic piece that connects the implant to the artificial tooth. This procedure may require a small incision in the gum to expose the implant, followed by the placement of the abutment.
Step 5: Custom Crown Fitting
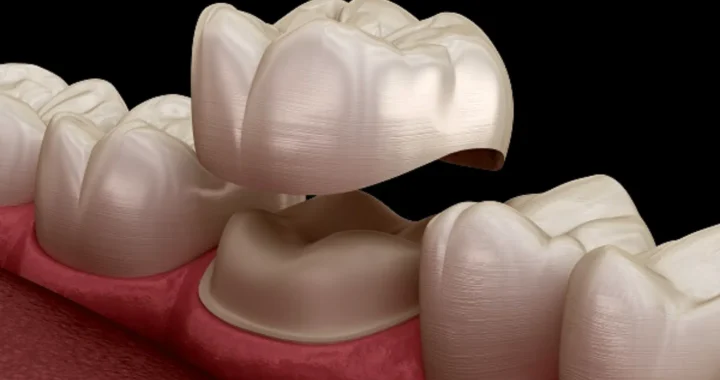
The final step in the dental implant process is the fitting of the custom-made crown. Your dentist will take an impression of your mouth, which will be used to create a natural-looking and comfortable crown tailored to match your existing teeth. The crown is then attached to the abutment, completing the dental implant process.
Conclusion
Now that you have a better understanding of the dental implant process, you can decide whether this treatment is right for you. Remember to choose a qualified and experienced dental professional to ensure a successful outcome. With good care and maintenance, your dental implant can last a lifetime, giving you the confidence to share your smile with the world. Don’t hesitate to consult with a dental professional and take the first step towards a healthier, happier smile.


 Understanding the Revolution in Dentistry: Dental Implants
  Transforming Smiles Discreetly with Invisalign in Leicester
  Tips for Choosing the Right Dentist Near Coorparoo
  The Role of Your Local Dentist in Navan for Oral Health
  The Role of Specialised Clinics in Managing Long Covid Symptoms in London
  The Revolution of Botox in Cosmetic Dentistry: A Case Study of Tunbridge Wells
  Innovations in Health Screenings: Exploring the Latest Technologies in Clinic Services
  Dental Crowns –Restoring Strength, Function, And Aesthetics.
  One-Person Wonder: Making Waves in the Massage Industry in Gunma
  How Cataract Surgery in Nashville Improves Vision and Quality of Life